Owl & Flower Youth Quilt
I machine pieced this quilt on my Bernina 240.
I quilted this quilt on my Janome QMP-18 long arm.
Finished size: 53" x 70"
I quilted this quilt on my Janome QMP-18 long arm.
Finished size: 53" x 70"
(click on photos to enlarge)
+++++++ Finished quilt details: +++++++


Front piecing: I made 35 blocks from fat quarters in deep yellows and oranges, and used tans/neutrals as a constant. The pattern, "Fat Quarter Fancy", calls for 36 blocks to be laid out in a square (6x6 rows). But I chose to do a rectangular 5x7 layout instead.
The final outer border is a "Saw Tooth" pattern made from half-square triangles.

Back: The backing fabric is a wide cotton blender called "Carrot".
 The stitching pattern I used is "Rolling Along". It stitches out perfectly, and repeats and nests evenly, giving great edge-to-edge coverage.
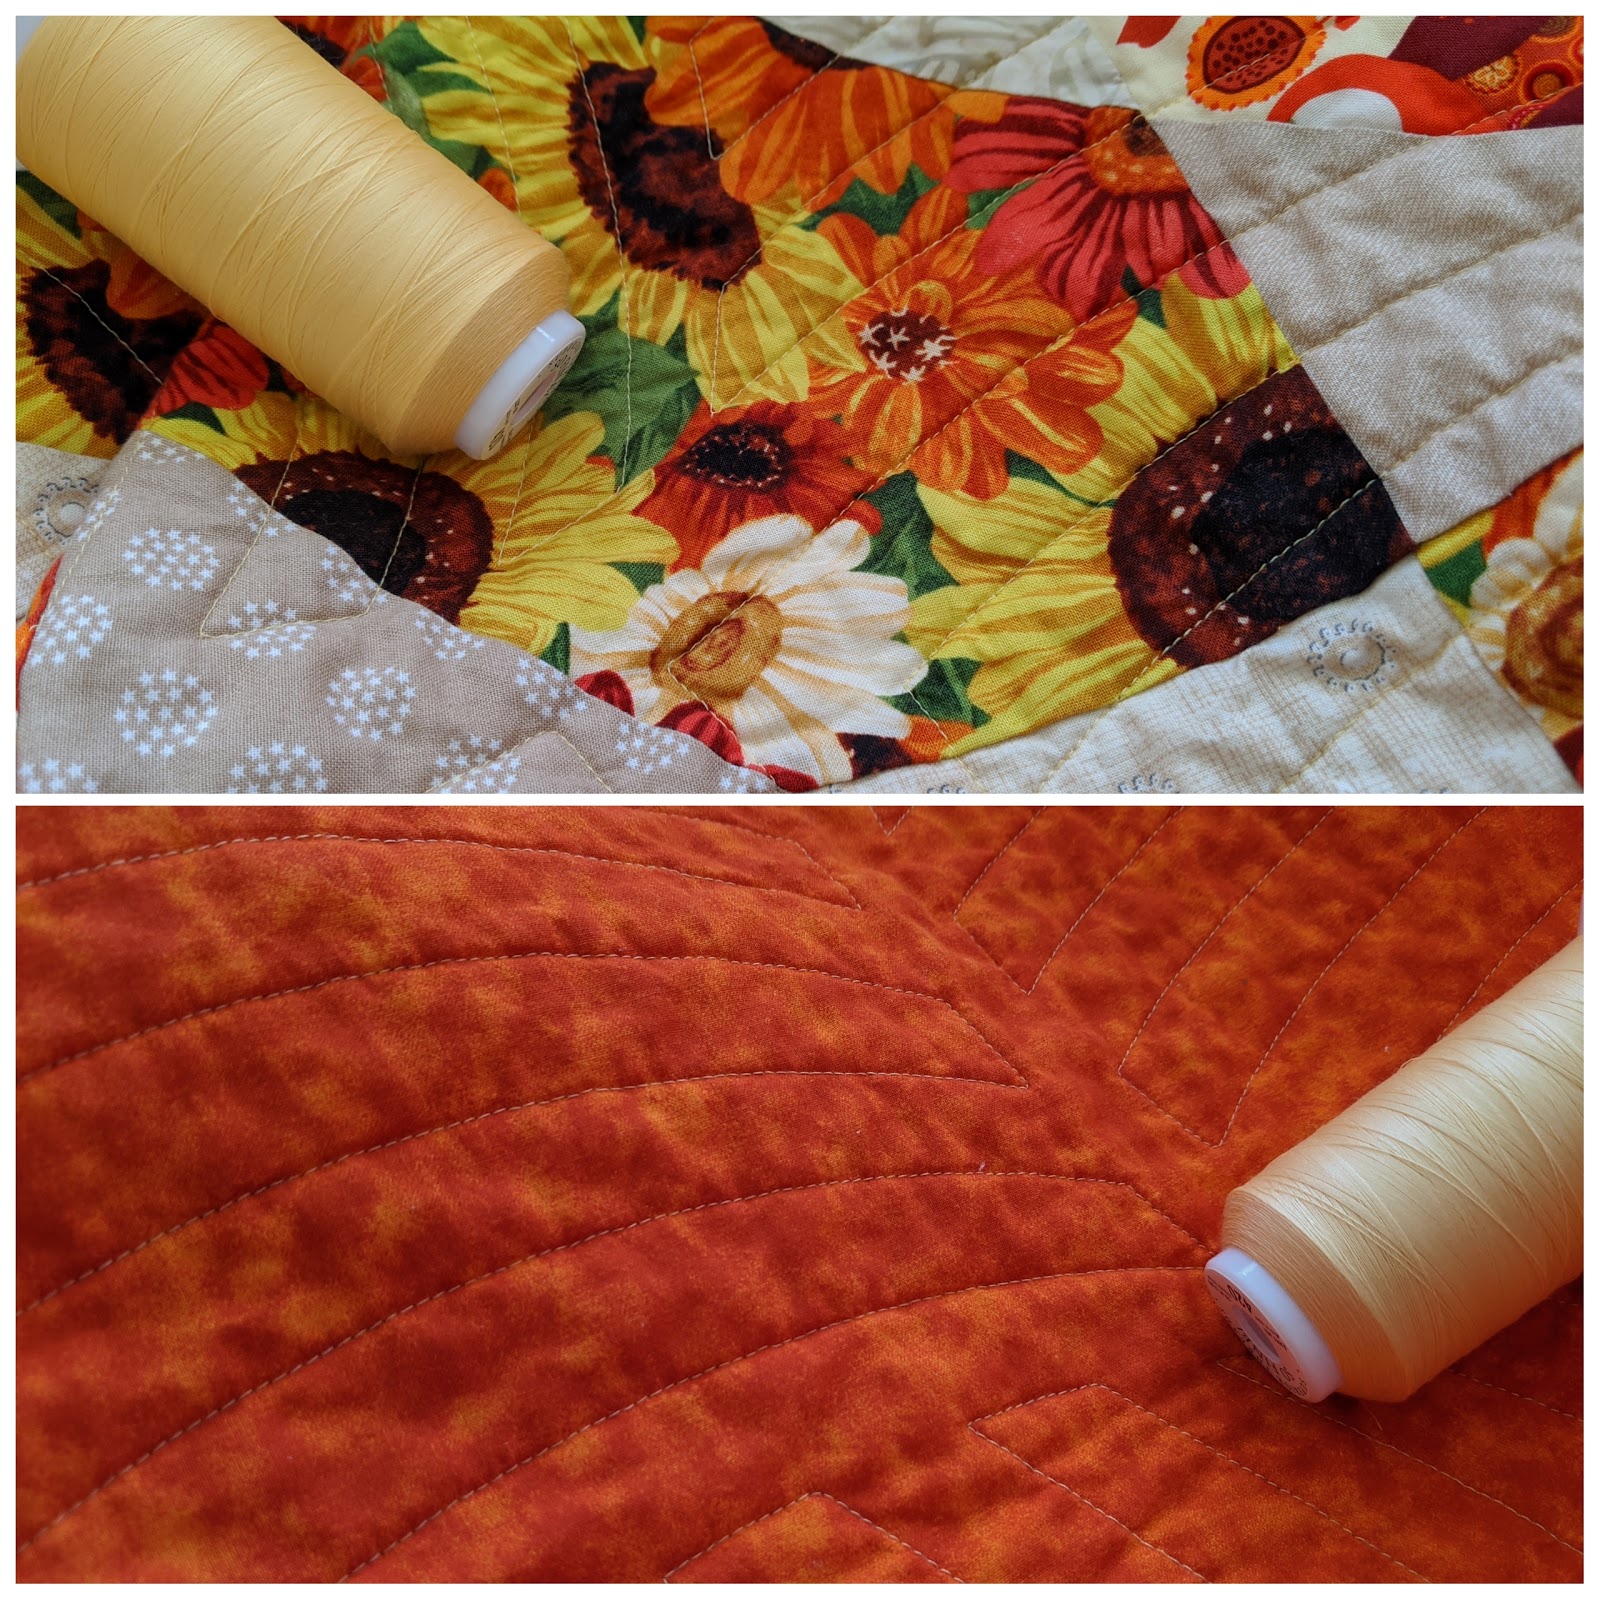
Both the front and the back are quilted with "Daffodil" (Superior Threads So Fine 50 #420) .


I machine washed this quilt with dye trapping sheets (I like to use either Color Catchers or Color Grabbers), to absorb the fabric dyes, and to set the deep warm colors. After washing, the quilt is beautifully wrinkled, soft and huggable.
+++++++ Progress photos: +++++++

I used fat quarters from Benartex ("Owl Be There"), Moda ("Freedom") and Wilmington ("Harvest Abundance"). The pattern, "Fat Quarter Fancy", calls for sewing a 4.75" square on two opposite corners of a 9" square. I learned a little shortcut that saved me lots of time - when sewing the seam to attach the smaller squares to the two corners of the large square, I sewed a second seam (1/2" away) and instantly had 2 half square triangles when each large block was completed! So I had 70 HST's already available to make a quick "Saw Tooth" border.

Arranging the 35 blocks on my design wall. No same two fabrics are touching!

The backing and batting are loaded (longitudinally, to reduce the number of rows/returns), and the top is floating on my Janome QMP18 long arm, ready to be stitched with edge-to-edge quilting in the "Rolling Along" repeat pattern.

The "Rolling Along" pattern perfectly travels across the bright and colorful fabrics.

Finishing up with the quilt's last row of stitching!

Sometimes instead of using separate fabric binding strips, I create the binding using fabric being folded around from the back, and then miter the corners and clip into place.


Attaching the binding with my Bernina 240 using the blind hem foot.

Lots of fabric dye trapped after washing the quilt (I use either Color Catchers or Color Grabbers).
+++++++ Quilt Recipient: +++++++
Donated to Quilts for International Missions - Bolivia Children's Home.
+++++++ Quilt Summary: +++++++
I machine pieced this quilt on my Bernina 240.I quilted this quilt on my Janome QMP-18 long arm.
Finished size: 53" x 70"
Front piecing: 35 blocks made from fat quarters using the "Fat Quarter Fancy" pattern, laid out in a 5x7 rectangle instead of a 6x6 square. An outer "Saw Tooth" border surrounds the rectangle.
Back: The backing is vibrant wide cotton called "Carrot".
Binding: The binding is machine sewn, using fabric being folded around from the back.
Quilting: Edge-to-edge "Rolling Along" pattern, both front and back with Superior Threads' "Daffodil" (So Fine 50 #420).
Really nice. I appreciate your step by step process. Where did you get the quilt design, really like it.
ReplyDeleteThank you! The original pattern is called "Fat Quarter Fancy" from Caroline Critchfield of SewCanShe.com. I changed the arrangement from 6x6 rows to 5x7 rows, then I also added a 1.5" inner border and then a final outer sawtooth border of HST.
DeleteHere's her tutorial: https://www.sewcanshe.com/blog/fat-quarter-fancy-quilt-pattern.