Chevron Floral Couch Quilt
This quilt was expertly pieced by the niece of a good friend. Then I added wide borders using my Bernina 240.
I quilted this quilt on my Janome QMP-18 long arm.
Finished size: 60" x 70"
(click on photos to enlarge)
🌸FINISHED QUILT:🌸


Front piecing: The niece of a close friend pieced this chevron center, using lovely light floral prints, combined with boldly colored darker fabrics. What's so impressive about her piecing, is that she created the pattern using diamond-shaped fabric pieces (instead of using half-square triangles) to make the chevrons. Much more challenging method, I would think, but she did a wonderful job! She finished the center by surrounding it with a narrow 1" border. She eventually gave the flimsy to her aunt (my friend), who gifted it to me to border and quilt.
Borders: I added two wide borders (5½" and 5") to enlarge the quilt, bringing it up to a cuddly couch size.


Backing: The beautiful back is yardage I recently purchased at a discounted cost from an Etsy store that was downsizing.

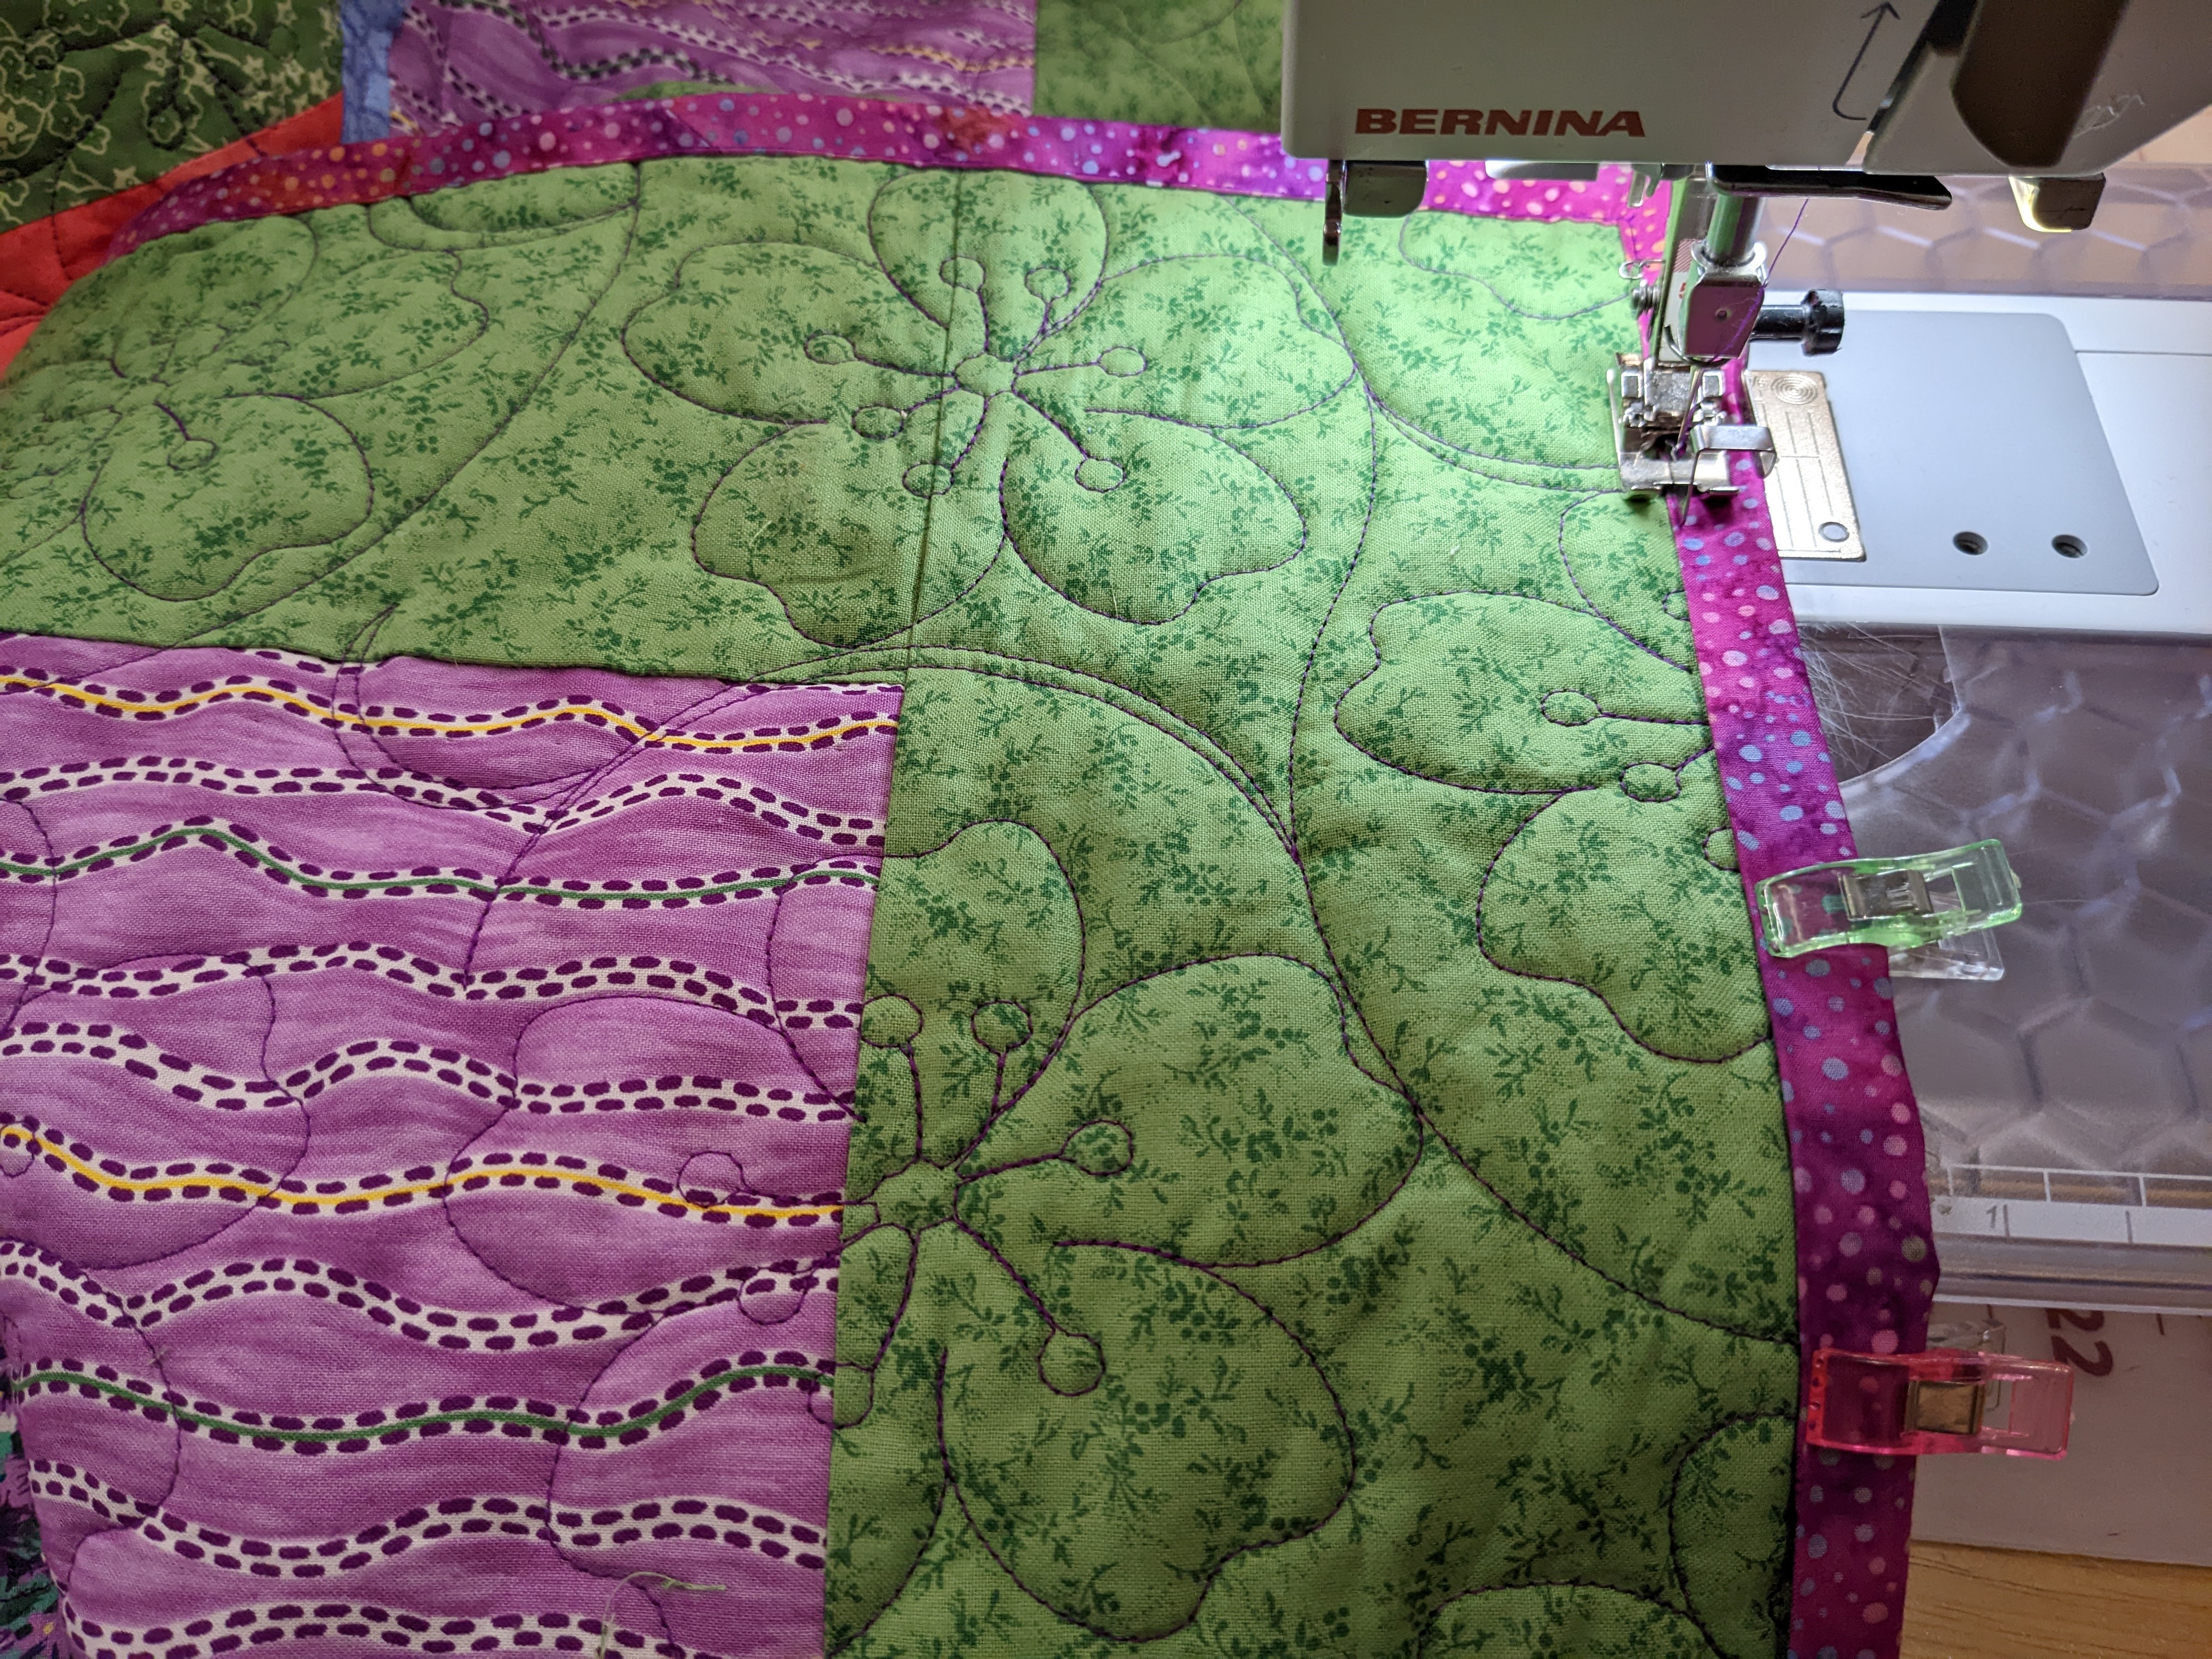
Quilt Stitching, Pattern: I quilted using edge-to-edge "Cherry or Sakura Blossoms" from Wasatch Quilting.

Quilt Stitching, Thread: I used "Shooting Star" (So Fine 50 #500) thread for both the front and back of the quilt.

Label: I embroidered my first initials and last name, and the year right onto the binding, one of my favorite ways to label a quilt.
🌸INSPIRATION:🌸
This quilt is a gift for a woman who has been displaced due to severe flooding from Hurricane Ian. After being in the same house for more than 30 years, suddenly she and her daughter no longer have their home, and are living in shelters. My hopes are when she uses this quilt, it brings her heart a little bit of happiness, knowing that she is being thought of and that wishes for love and peace have been sent out into the universe for her.
🌸PROGRESS PHOTOS:🌸
Construction-Blocks:

Here is the flimsy that was gifted to me. It was pieced very well, with really great color choices made for the chevron pattern placement. It was 48" x 60" before I added the two borders.
Construction-Borders:

For the inner 5½" border, I used the fun "Spring Fling" yardage from a crafter who was reducing her stash.
For the outer 5" border, I used a green-on-green fabric that was given to me by a long-time friend, along with several yards of other small print florals she had collected but never used.
Quilting:

The backing and batting are loaded, and the top is floated to be sure everything is squared and ready. I loaded this quilt lengthwise so that there would be fewer rows to stitch.
I baste each quilt sandwich completely, down one side, across the belly bar, and back up the other side, advancing and repeating, before I actually quilt it.


First time using edge-to-edge "Cherry or Sakura Blossoms" from Wasatch Quilting. Very nice design, not too dense, just right for quilting a tall 10"-11" row. It stitched out flawlessly and was very easy to modify (resize, join, repeat, etc) in my ProStitcher software.
Trimming:

I lined up my ruler to cut exactly 4½" from the outer side of the pink inner border. That way the quilt's outer edge will be straight, and the two borders will be parallel.
Binding:

I again went to my stash and found a gorgeous fuchsia batik fabric that I purchased from a crafter who was moving and wanted to shrink her fabric collection. I made about 300" of binding.

Then I embroidered my first initials & last name, and the year, onto the prepared binding fabric.

First I attached the binding fabric to the back of the quilt, using my sewing machine and a scant 1/4" seam.

Then I wrapped the binding around to the front of the quilt.

I machine attach bindings using my Bernina 240's blind hem foot, which leads to a wonderfully precise, narrow seam.

Using a couple pins to get perfectly mitered corners.
Washing:

I machine washed the finished quilt twice (cold water, no bleach) using dye trapping sheets (I like either Color Catchers or Color Grabbers). The catchers definitely removed a lot of the pink and purple fabric dyes.

After washing, the quilt is very soft, with just enough stitching to give it movement, but not too much that it is stiff or takes away from the sweet fabrics.
🌸QUILT SUMMARY:🌸
This quilt was expertly pieced by the niece of a good friend. Then I added two wide borders using my Bernina 240.
I quilted this quilt on my Janome QMP-18 long arm.
Finished size: 60" x 70"
Front piecing: Chevron pieces made from floral patterns in both light and dark colors.
Borders: 3 borders: 1" inner border, followed by a 5½" middle border and a final 5" outer border.
Back: Floral cotton print of purples, blues and neutrals.
Binding: Machine attached binding of vibrant fushcia batik.
Quilting: Edge-to-edge "Cherry or Sakura Blossoms" from Wasatch Quilting. "Shooting Star" (So Fine 50 #500) thread for both the front and back of the quilt.
🌸🌸🌸
* The making and gifting of this quilt is the result of several separate instances in life that all fell together, as follows:
Center Blocks: Pieced by the niece of a close friend, then given to me.
Inner Wide Border: Made from yardage I bought from a crafter who was reducing her stash.
Outer Wide Border: Made from fabric that was given to me by a long-time friend.
Binding: Made from fabric that I purchased from a crafter who was moving and wanted to shrink her fabric collection.
Backing: Made from yardage I recently purchased at a discounted cost from an Etsy store that was downsizing.
Gifting: A friend shared with me that she knew of a woman who worked with several people who were homeless from Hurricane Ian's flooding, and she put me in touch with the right person to get quilts to three of those people.
🌸🌸🌸
Comments
Post a Comment