African Safari Couch Quilt
I machine pieced this quilt on my Bernina 240.
I quilted this quilt on my Janome QMP-18 long arm.
Finished size: 54" x 66"
Finished size: 54" x 66"
(click on photos to enlarge)
🐘FINISHED QUILT:🐘


Front piecing: 12 blocks (each 12" finished) made up of several different safari animal pattern prints, as follows:
Borders: First inner border inspired by a photo of "Bouncing Border" pattern,
followed by a 2.5" wide scrappy brick border, then a final 2" zebra border.


Backing: The back is a wide batik print of leaves and flowers in various shades of gold and brown.

Quilt Stitching, Pattern: I quilted using edge-to-edge "Triangular Fun" from Wasatch Quilting.

Quilt Stitching, Thread: I used "Cashew" (So Fine 50 #405) thread for the front of the quilt, and "Chocolate" (So Fine 50 #424) thread on the back.

Label: I embroidered a short, inconspicuous label right onto the binding, which only shows from the backside of the quilt.
🐘INSPIRATION:🐘
A friend of a friend, who currently teaches the next generation of nurses at our local state college, has dedicated her life to the nursing field. She has volunteered her time and talents on medical mission trips to Africa in the past, and since then has fallen in love with the African people, the continent, and its amazing animals. This quilt acknowledges the selfless hours she's spent in Africa, and is a sweet reminder of the people she’s helped heal.
🐘PROGRESS PHOTOS:🐘
Construction-Blocks:

As part of a woman's recent stash sale, I purchased several animal print fat quarters and strips. I thought maybe I could use them in an "I Spy" quilt or in a set of Monogrammed Stuffed Rattle Blocks that I like to make and gift. But when I saw all of the vibrant patterns together, I decided the fabrics needed to all be in a group as a themed quilt.


I was working with limited fabric supplies, so to maintain a controlled scrappy look, I had to be a bit more conscientious about what pieces went where in each of the 12 blocks. I repurposed some old shipping boxes by wrapping a piece of leftover batting (secured by duct tape on the back) and I was able to use them to design each block, then carry it back and forth between my sewing machine and my ironing board. Worked perfectly.
Block #1:


The Circle of Squares blocks are laid out on the batting boards, then I chain piece as I go.
Block #2:


Laying out the Potato Chip blocks on the batting boards, then chain piecing (I used Brenda's measurements for the 2.5" width strip size). I decided to also incorporate some gray and black&white fabric scraps as part of the scrappy Potato Chip blocks.

Before joining the 12 blocks together, I sliver-trimmed each one to make sure they would all measure exactly the same and lay flat once sewn together.
Construction-Borders:

For the first inner border that would serve to frame the 12 blocks, I auditioned many different colors (from fabrics I had in my stash) before I chose the dark green batik (a suggestion from both my husband and an awesome friend).

Then I saw this photo online (from Connecting Threads) of a pattern called Bouncing Border. But the math of this pattern wouldn't work for the center blocks I'd already made.


Here's the progression of my version of Bouncing Border (the dark and light fabrics are inverted from what is shown in the pattern).

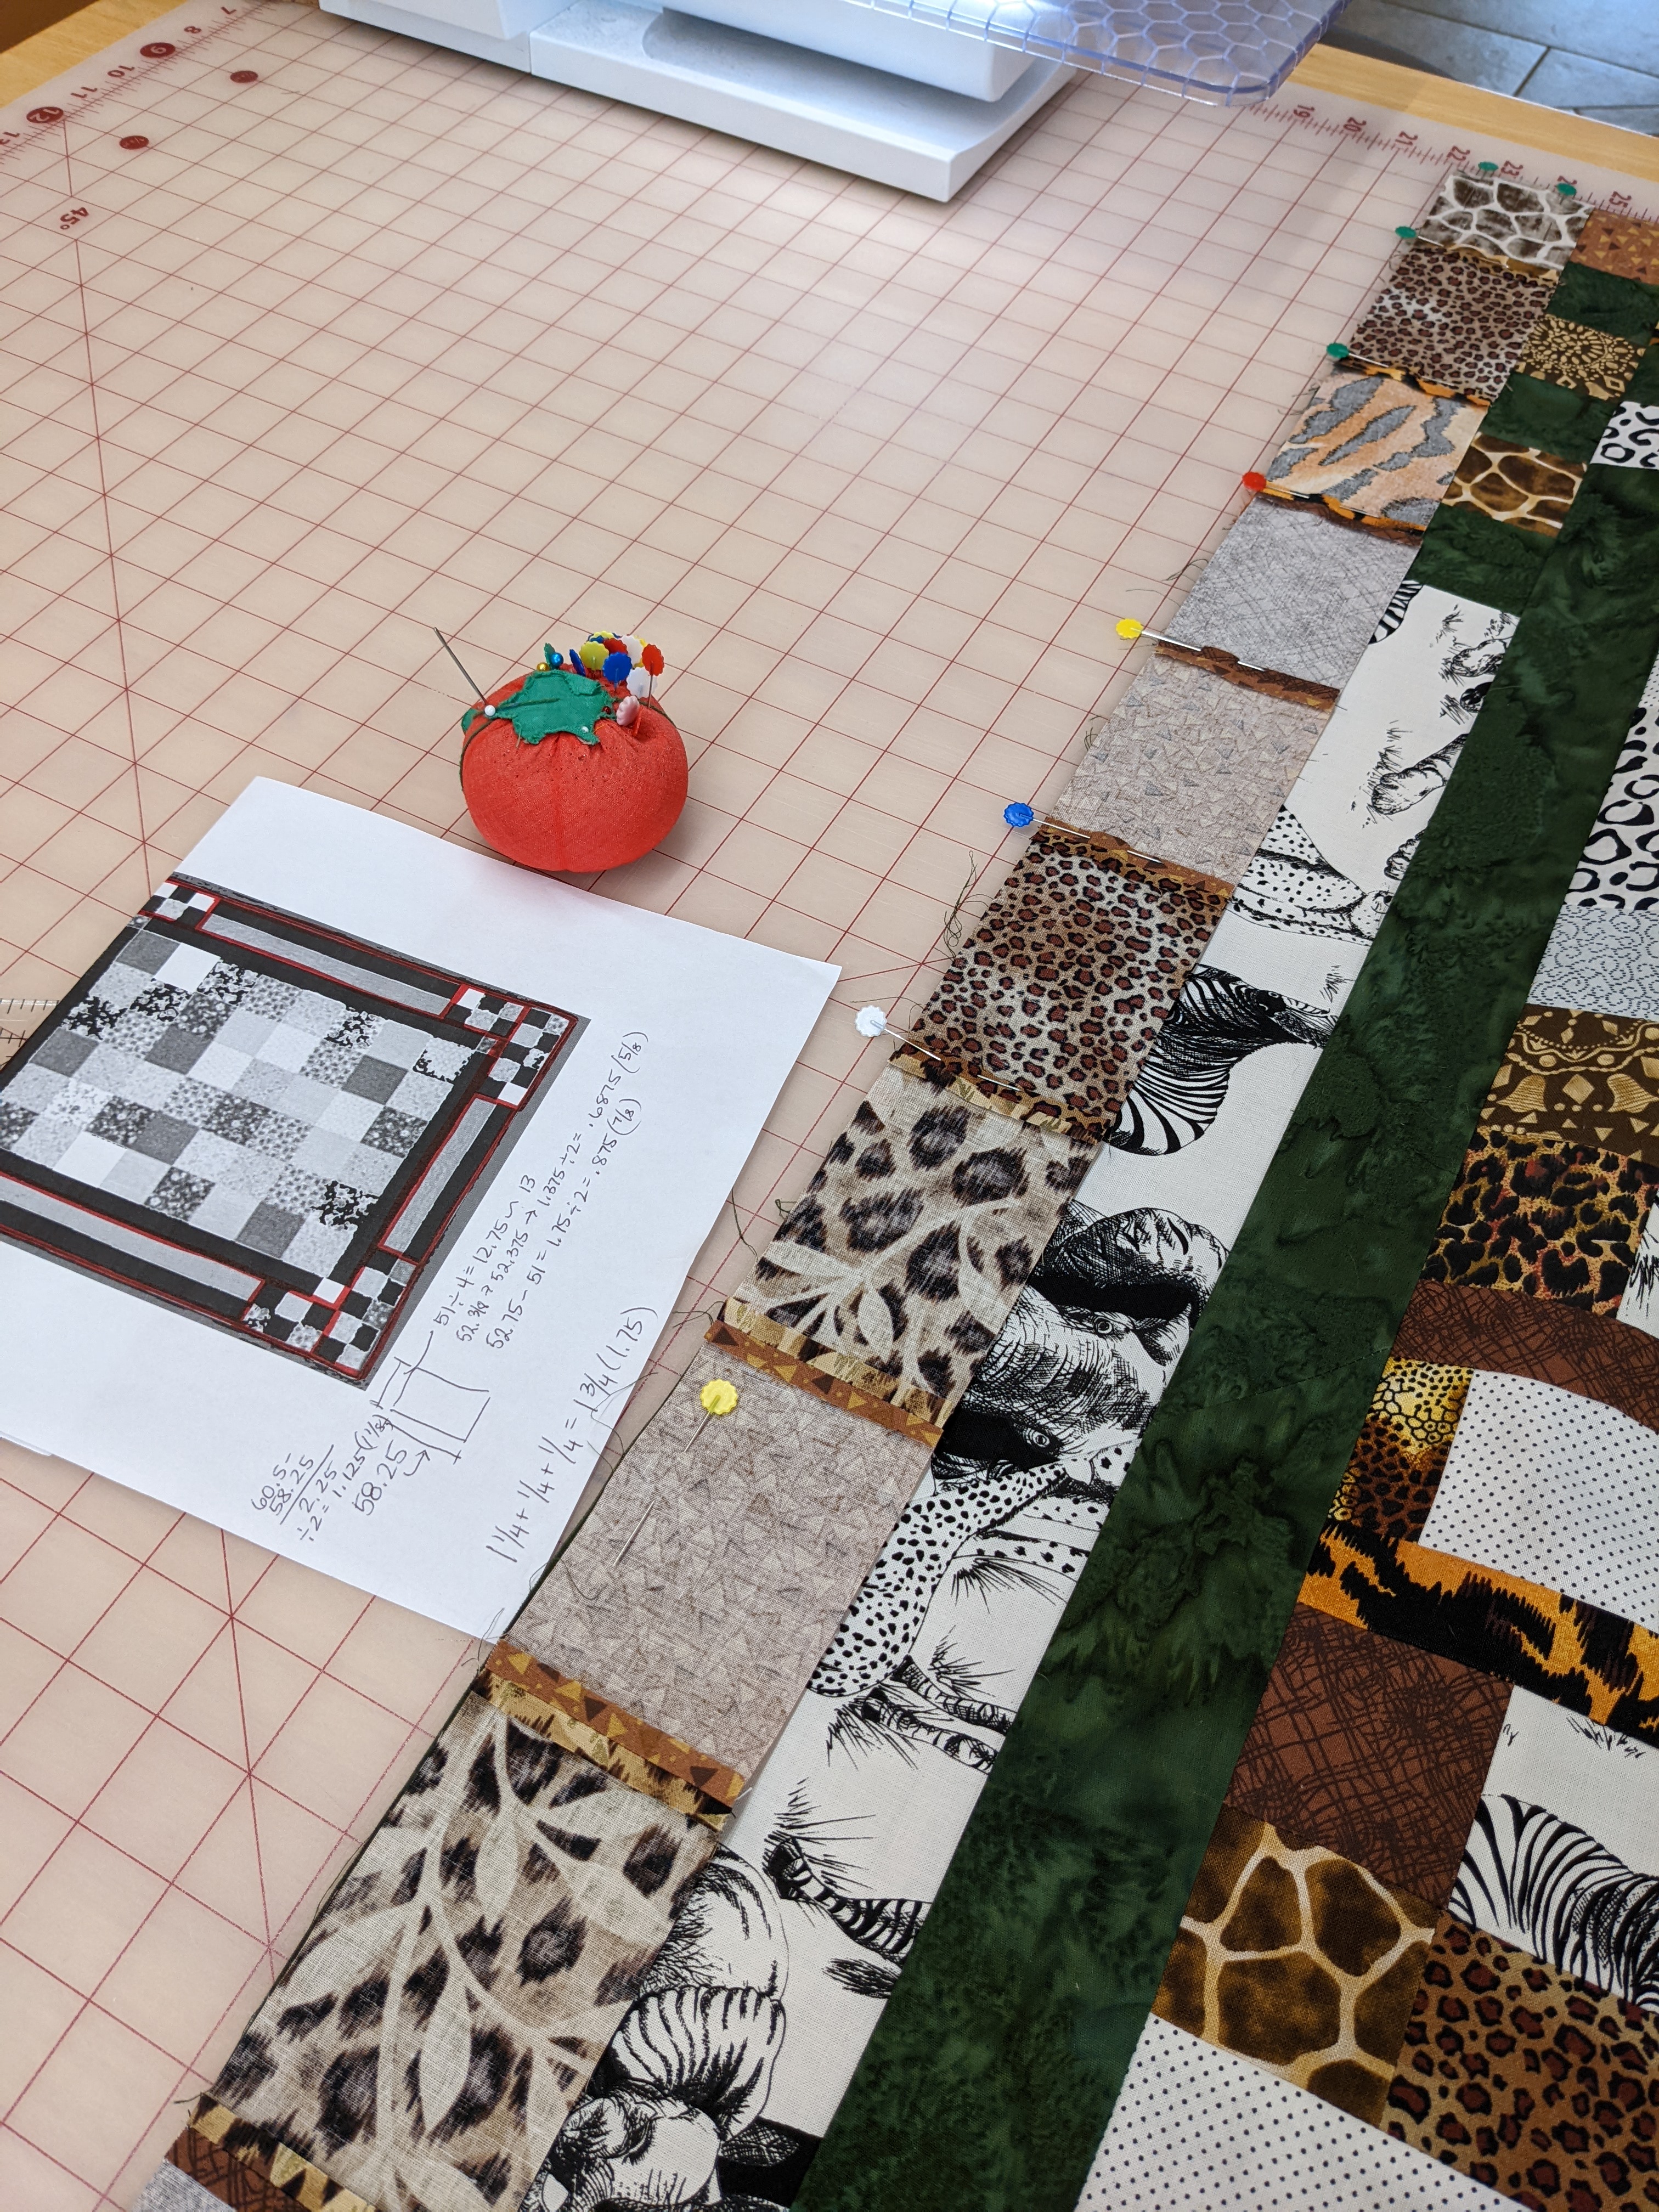
Pinning on the scrappy border made from pieces leftover from block building. Since I had no pattern to go by, I had to do a lot of math and figuring (and re-figuring!) to get everything to work out.

Quilting:

The backing and batting are loaded, and the top is floated to be sure everything is squared and ready.

I baste each quilt sandwich completely, down one side, across the belly bar, and back up the other side, advancing and repeating, before I actually quilt it.

First time trying "Triangular Fun" from Wasatch Quilting. It stitched out flawlessly and was very easy to modify (resize, join, repeat, etc) in my ProStitcher software.

Beginning row #1 of 7 total.


Working on the 7th and last row of stitching.

Fresh from finishing the last quilting stitch, and I'm already very happy with the understated, non-dense look of the quilting.
Trimming:


Binding:

I joined together the leftover 2.5" strips of animal prints until I had at least 280" of scrappy binding.

After pressing in half lengthwise, I embroidered my initials and the year onto the prepared binding fabric.

I really wanted the finished binding to be very narrow on the front side of the quilt. So first I attached the binding fabric to the front using my sewing machine and a scant 1/4" seam...

...then I wrapped the wider part of the binding around to the back and hand-sewed it, using an invisible stitch.
Washing:

I machine washed the finished quilt twice (cold water, no bleach) using dye trapping sheets (I like either Color Catchers or Color Grabbers). The catchers turned brown and gray, telling me a lot of the fabric dyes were successfully removed.

After washing, the quilt is soft, with just enough wrinkles to give it texture but not take away from all of the vivid prints and patterns. It has a lovely drape to it, too.
🐘QUILT SUMMARY:🐘
I machine pieced this quilt on my Bernina 240.
I quilted this quilt on my Janome QMP-18 long arm.Finished size: 54" x 66"
Front piecing:12 blocks (each 12" finished) made from safari animal pattern prints, 6 - "Circle of Squares" and 6 - "Potato Chip Blocks".
Borders: 3 borders: "Bouncing Border", 2.5" wide scrappy brick border, final 2" zebra border.
Back: Wide batik print of leaves and flowers in shades of gold and brown.
Binding: Scrappy animal prints joined together, machine sewn on the front, hand sewn on the back.
Quilting: Edge-to-edge "Triangular Fun" from Wasatch Quilting. "Cashew" (So Fine 50 #405) thread on the front of the quilt, and "Chocolate" (So Fine 50 #424) thread on the back.
Comments
Post a Comment