"I Spy" Peek-a-Boo Quilt/Playmat
I machine pieced this quilt on my Bernina 240.
I quilted this quilt on my Janome QMP-18 long arm.
Finished size: 58" x 67"
Finished size: 58" x 67"
(click on photos to enlarge)
🏡 FINISHED QUILT: 🏡Front:
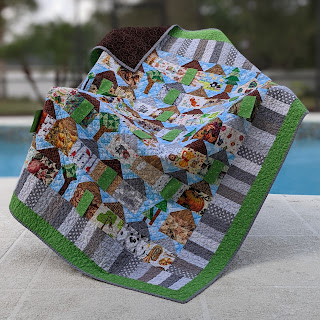


Front piecing: Eight rows, each containing 7 - (6.5" tall) houses. No fabrics are repeated in any of the 56 houses. Every row also includes another "neighborhood" item, such as a tree, birdhouse, a church, a golf pennant, or shrubs. As an added bit of fun, 19 of the doors can open, to reveal yet another hidden item "inside" the house...Peek-a-Boo!
Borders: The center houses are surrounded by a 5" piano key border made from 6 different gray printed cotton fabrics. Then the final 3" outer border is a lovely green Benartex cotton, called Sparkle Vines by Contempo that I purchased from my local quilt shop.
Back:


Backing: The backing fabric of this quilt is Robert Kaufman's "Fusions" in Espresso.
Quilting:

Quilt Stitching, Pattern - Borders: The outer borders are stitched with "Circle Meander" pattern.

Quilt Stitching, Pattern - Center/Houses: The quilt's center (8 rows of houses) is stitched with Intelligent Quilting's "Karen's Basket Weave" pattern.

Quilt Stitching, Pattern - Doors: Stippling was stitched inside each of the individual doors.

Quilt Stitching, Thread (Front): I used a crisp colored thread called "Snow Cone" (So Fine 50 #401) for the front of the quilt, to blend in with the grays and not distract too much from the various novelty fabrics.

Quilt Stitching, Thread (Back): I wanted the quilted stitching to show on the backing, so I used "Bone" (So Fine 50 #452) as a contrast thread for the back of the quilt.
Label:

Label: I embroidered a sentiment directly onto the binding.
🏡 INSPIRATION: 🏡

A Christmas gift for my first grandchild, to be used as tummy-time playmat as well as a cuddly quilt.
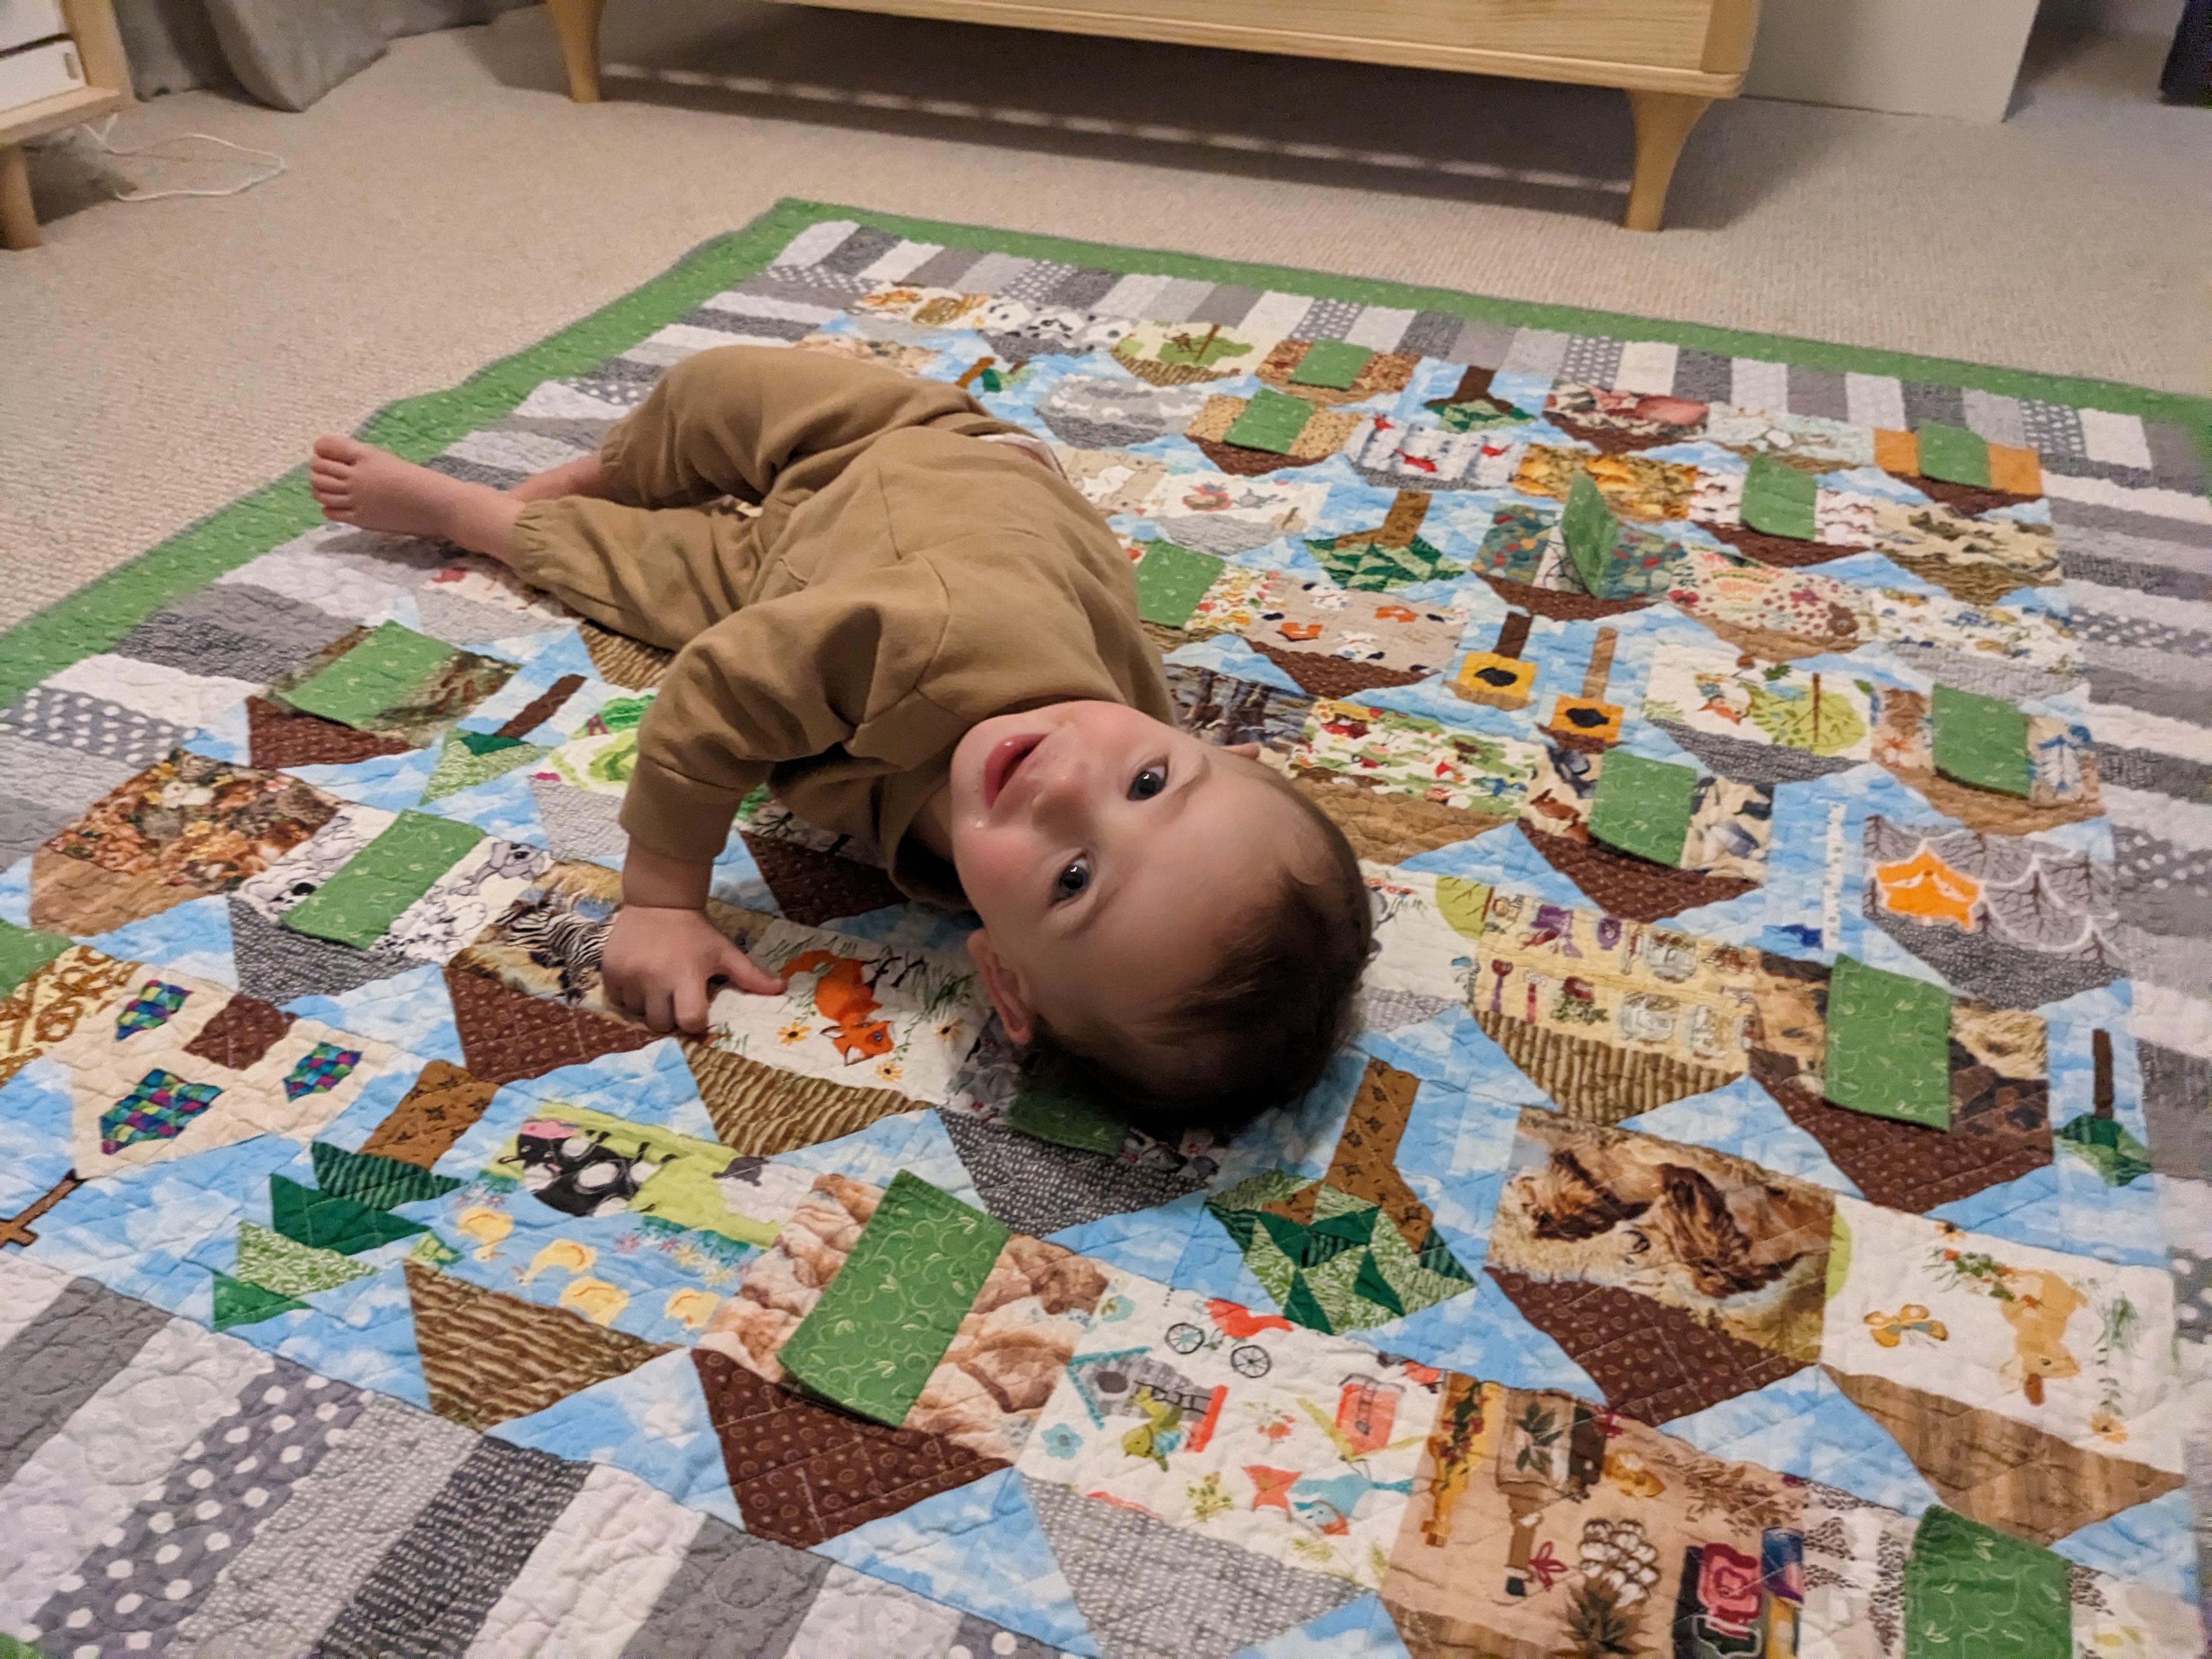
And here he is as a toddler a year later, loving to play "I Spy", opening and closing the doors!
🏡 PROGRESS PHOTOS: 🏡
Construction-Front:

Piecing: I searched through my collection of novelty "I Spy" fabrics, and chose the ones that stayed within the neutral earthtone family as much as I could, to compliment my daughter's tastes.
🏡🏡🏡
After choosing my fabrics, I referred to a previous house quilt I constructed, as well as looked at two other tutorials I found online:
I combined a bit from each source and created the houses that I decided would be the right size and best lend themselves to having front doors that opened and closed. Although I did modify her measurements and technique, I have to credit Elizabeth Harmon for her awesome opening door idea!

I first began placing the completed houses individually on my large 2'x4' batting-covered easel, then slowly began moving them to my design wall to fine tune color schemes, roof patterns, final finished size, etc. I worked hard to arrange the rows so there would be balance and visual interest without too much repetition in any one color or pattern.

I also "sliver-trim" each block section before joining it to another section within the block. It's time-consuming, but helps to produce uniform block sizes with virtually straight edges every time.


I used fat quarters from my stash, scraps and backing fabric leftover from this quilt and this quilt to make the 5" piano key border.

In addition to making the 56 houses, I also made various neighborhood items:

Birdhouses
(no pattern, just my own patchwork)

Church
(used Burlap & Blossom's pattern with a few modifications)

Trees
(no pattern, just my own patchwork)
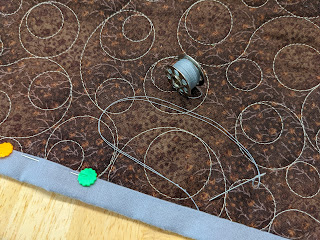
Quilting:

Before basting down the top to create a quilt sandwich, I first loaded the backing and batting, and floated the top to be sure everything was squared and ready.


Stitching: I quilted the outside borders with one of my favorite patterns, Circle Meander.


Stitching: Along the inside center of the quilt, where the neighborhood houses are, I quilted Intelligent Quilting's "Karen's Basket Weave" pattern.


Stitching: I cropped out the inside of each door, and went back to quilt those with a tiny stipple.


Stitching: Following Linda Matteotti's tutorial, I created my grandson's first name in Art & Stitch, which I then imported design into my ProStitcher software.
Trimming:

Squaring up the quilt after removing it from the long arm, readying it to add the binding.
Label:

Before attaching the hand sewn binding to the quilt, I embroidered the label onto the binding fabric using my Brother PE700 embroidery machine.
Binding:

To make the binding, I sewed together many 2.5" wide strips of solid gray Kona cotton, then pressed them in half.

First attaching the binding strips by machine to the front of the quilt...
...then wrapping the binding around to the quilt back and sewing by hand, using a blind stitch.
Washing:

I machine washed the completed quilt three times with dye trapping sheets (I use either Color Catchers or Color Grabbers), to absorb the bold colored fabric dyes.


After washing, the quilt is wonderfully scrunched and soft. It's ready to be played on and loved!
🏡 BONUS: 🏡
Here are each of the 19 houses that have closing/opening doors:


🏡 QUILT SUMMARY: 🏡
I machine pieced this quilt on my Bernina 240.I quilted this quilt on my Janome QMP-18 long arm.
Finished size: 58" x 67"
Front piecing: Eight rows, each containing 7 - (6.5" tall) houses. Every row also includes another "neighborhood" item. The 56 center houses are surrounded by a 5" piano key border, and then a final 3" outer printed green border.
Binding: The binding is hand sewn, using a solid Kona gray cotton.
Quilting: Borders- Circle Meander. Center houses- Intelligent Quilting's "Karen's Basket Weave" pattern. Inside house doors- tiny stippling. Front stitched with Superior Threads "Snow Cone" (So Fine 50 #401), and back stitched with "Bone" (So Fine 50 #452).
Wow, this quilt is wonderful! And your post is SO informative. Thank you so much for the information and links. Little Crew is adorable and truly inspirational.
ReplyDelete