Aqua & Black T-shirt Couch Quilt
I machine pieced this quilt on my PFAFF Expression 710.
I quilted this quilt on my Janome QMP-18 long arm.
Finished size: 61" x 75"
Finished size: 61" x 75"
(click on photos to enlarge)
👕FINISHED QUILT:👕


Front piecing: Fifteen squares of various sizes cut from 12 t-shirts, using fabrics from my stash of strips and crumbs, and leftovers from previous quilt projects, to fill in between the blocks. An outside 7¼" border surrounds the t-shirts.


Backing: The backing fabric is Wilmington Prints' Essential 108 (wide fabric) "Dry Brush" in dark teal.

Quilt Stitching, Pattern: I quilted using edge-to-edge "Kaleidoscope" from Wasatch Quilting.


Label: I embroidered my initials and the year right onto the binding, still one of my favorite ways to personalize a quilt's label.
👕PROGRESS PHOTOS:👕
Construction - Blocks:

This project began with 12 t-shirts.

I first looked at the majority of the shirts' colors, and chose complimentary yardage from my stash to use for borders, binding, and backing.

So I began cutting the fronts and back of the shirts apart, and ironed interfacing on the back of every shirt section that had a decal.

Once I cut and added interfacing to the decal sections of every t-shirt, I placed all the pieces on my design wall. I just loosely placed them up there, focusing on color balance, and paying much less attention to spacing or block sizes.

Then I began "filling in" areas in between some of the blocks, using fabrics from my stash of strips, crumbs, and left overs from previous quilt projects. I still wasn't focusing too much on perfecting sizes yet, as I knew I could add to any block to make the pieces work together. The first area I focused on was adding vertical striped fabric sections to the three largest blocks in the center column.

I continued to add sections of pieced fabrics, adjusting the t-shirt squares as I went along. It was a very organic and enjoyable process!


When all of the three columns were complete, I stepped back once more to make sure I was happy with placement and color balance.

Then I very carefully (as precisely as I could) measured each column, length and width, to make sure everything was equal and even before joining all 3 columns together into the quilt top. I would now need to add an outer border to reach my size goal.
Construction - Borders:

For the outer 7¼" border, I chose "On the Horizon" by Art Gallery Fabrics (from my stash). I thought the black & white, small-print pattern provided a great contrasting frame to the bold, dark colors of the T-shirts (giving the eyes a place to rest).

All borders on and ready to load onto the longarm to be stitched into a quilt sandwich!
Quilting:

I load the backing fabric (face down) onto my longarm, and then roll the fabric back and forth between the front and back bars a couple times, which helps even tension.
After the backing is loaded, I drape a layer of thin batting over the backing, and then float the pieced quilt top as a final layer. (I chose a thinner batting because the interfacing adds an extra layer to the t-shirt fabrics, and I didn't want the finished quilt to be too heavy).

The quilt sandwich is then completely basted through all 3 layers, stitching down one side, across the belly bar, and back up the other side, advancing and repeating, before it is finally ready to be quilted. This pre-basting saves me hours, and provides a straighter, more even quilting experience every time!

I used my ProStitcher software to resize, repeat, and wrap the edge-to-edge "Kaleidoscope" from Wasatch Quilting.

Starting the first of 8 rows (each row is 10.5" high).

It seems with practically every quilt I stitch on my longarm (this is #115), I learn something new. This time I discovered that the rubber printing found on some t-shirts wears down the stitching needle extremely quickly - by the second row, I had to replace the needle, and I continued to change the needle at the beginning of each remaining row (8 passes total).


Beginning stitching on the final row, #8 of 8.
Trimming:

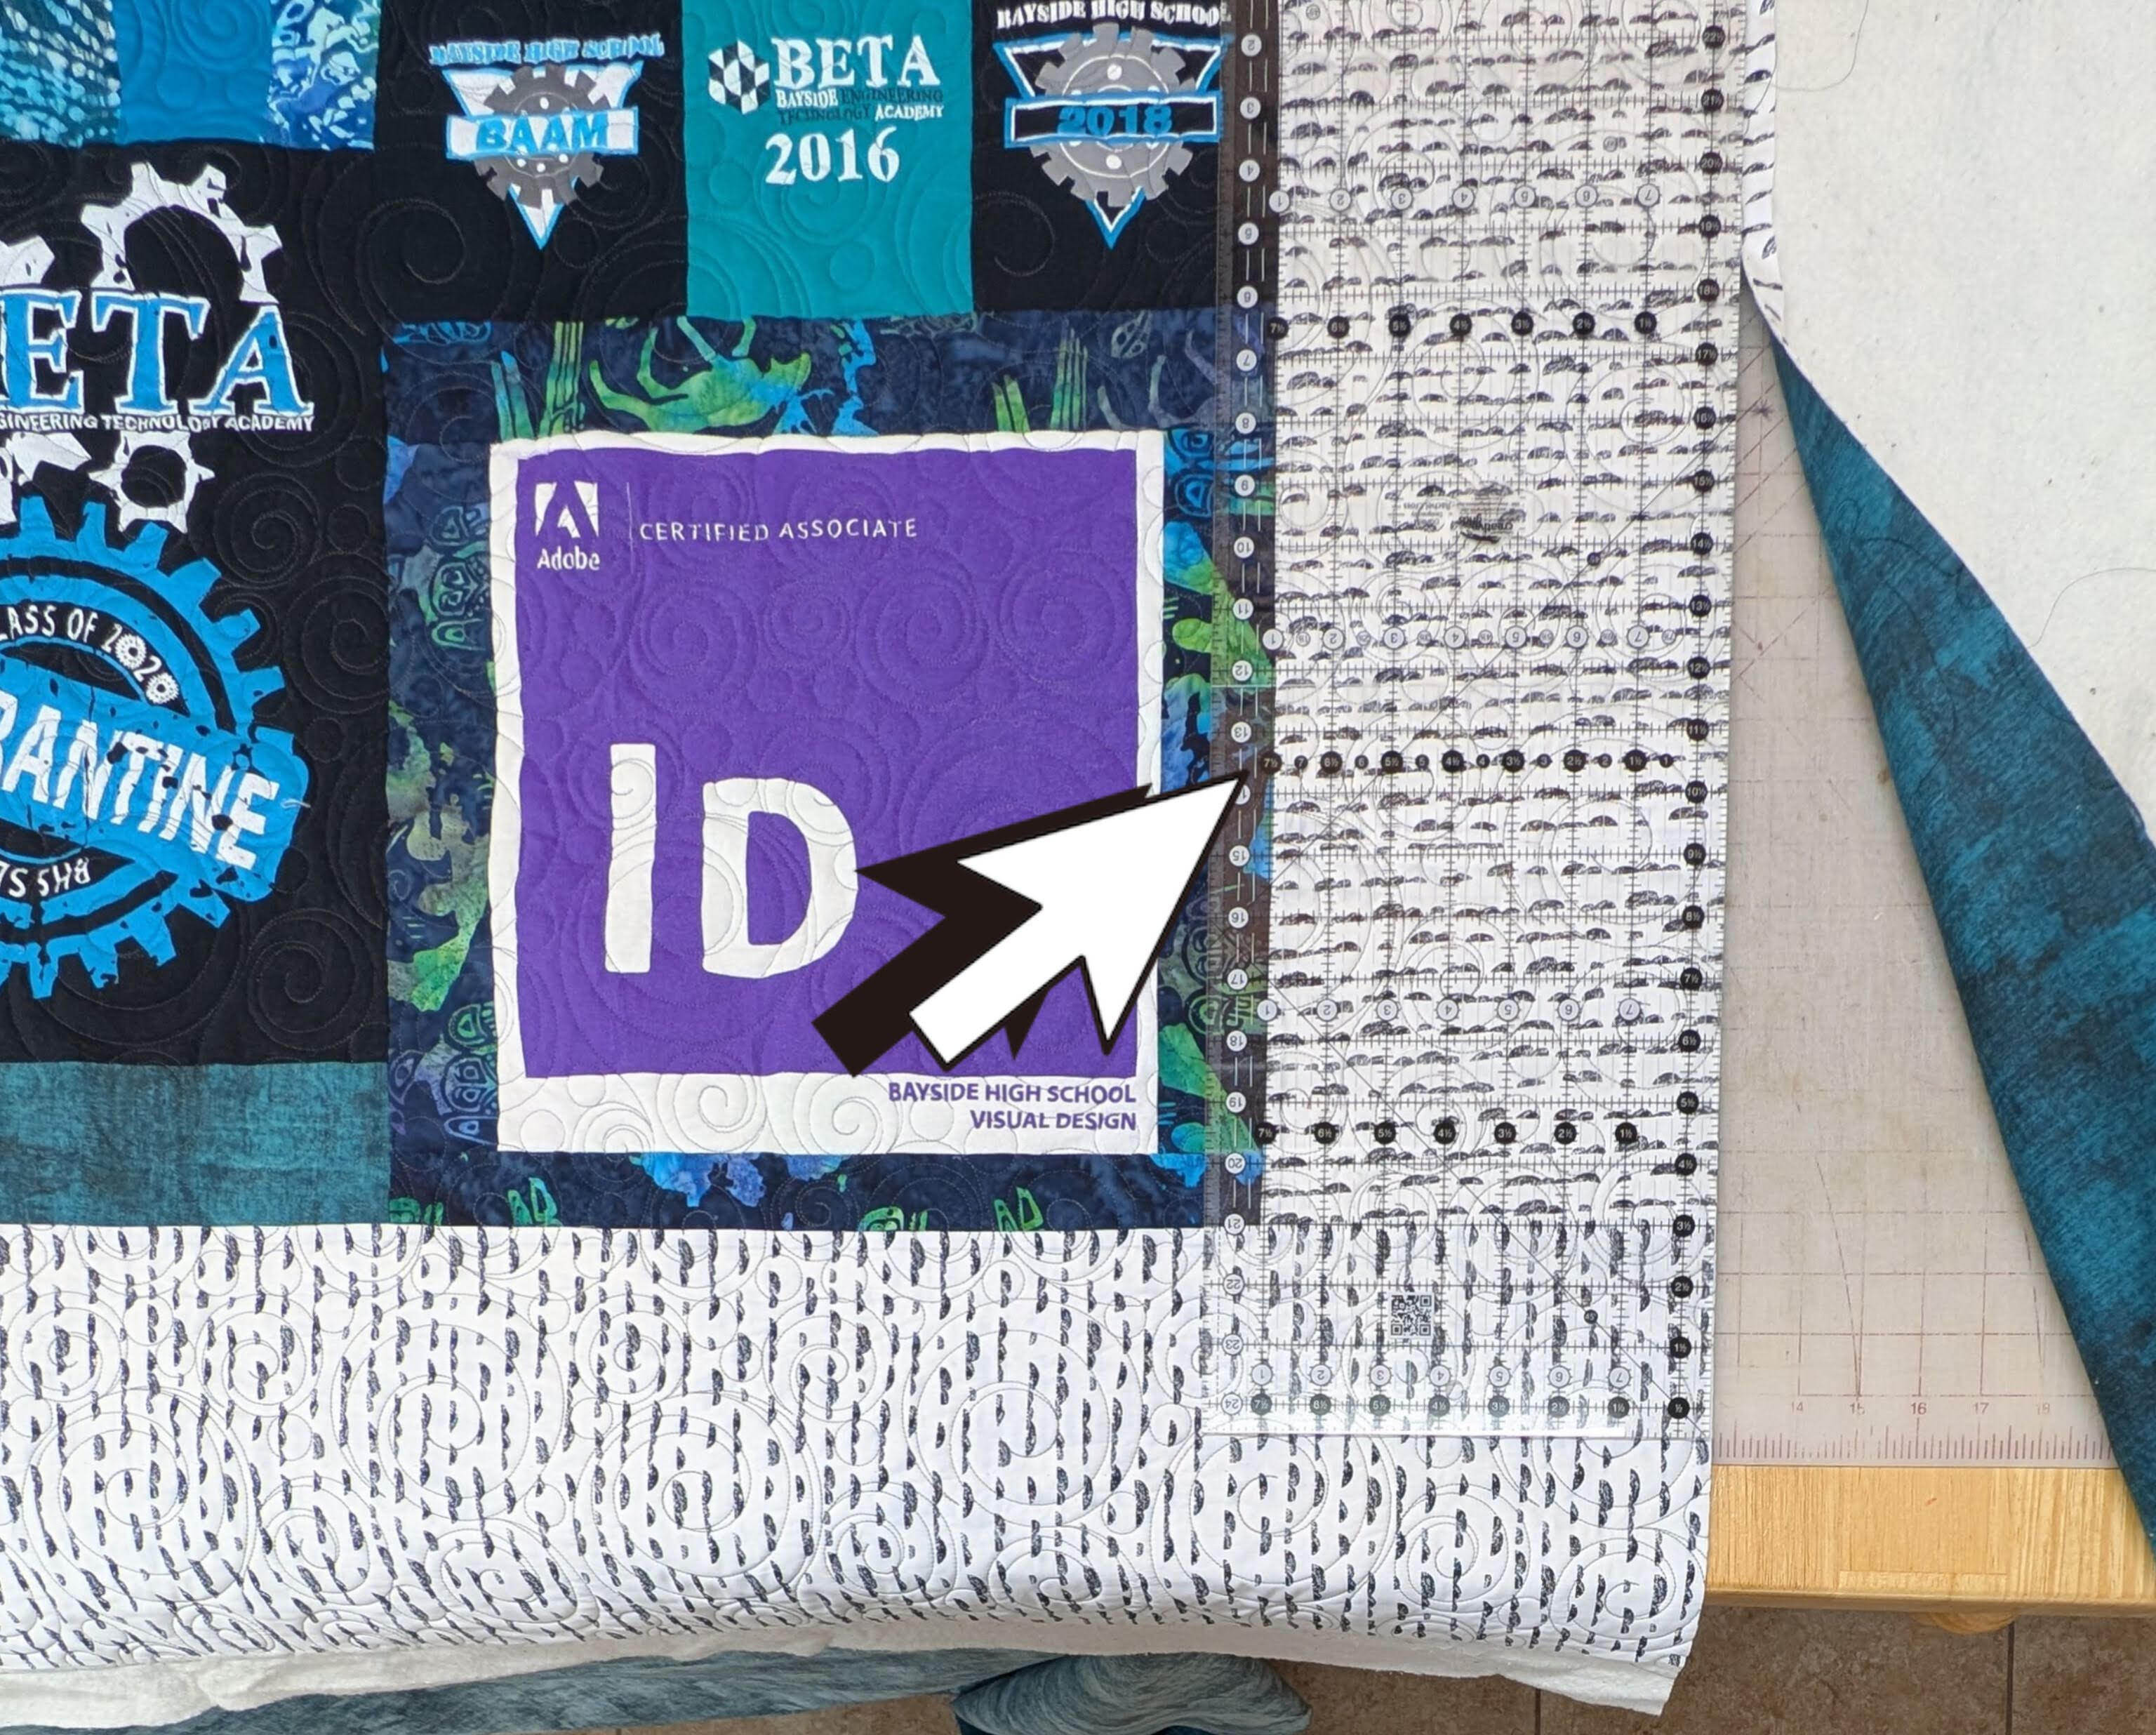
When trimming, I lined up my rulers to cut exactly 7½" from the outer edge of the t-shirts. This helped the quilt remain square.
Binding:

I joined together several 2.5" strips of Kona black cotton, making a total of 280" of binding.

Then I ironed the binding fabric in half lengthwise.


First I attached the binding strips to the back of the quilt, using my sewing machine and a 1/4" seam.


Then I wrapped the binding around and attached it to the front of the quilt.

Old fashioned corsage pins help me create nicely mitered corners.
Washing:

To absorb much of the dark fabric dyes, I machine washed the finished quilt (cold water, no bleach) using dye trapping sheets (I use either Color Catchers or Color Grabbers).

After washing, the quilt's beautiful texture and soft scrunchiness can be enjoyed immediately!
👕QUILT SUMMARY:👕
I machine pieced this quilt on my PFAFF Expression 710.
I quilted this quilt on my Janome QMP-18 long arm.
Finished size: 61" x 75"
Front piecing: Fifteen squares of various sizes cut from 12 t-shirts, using fabrics from my stash of strips and crumbs, and leftovers from previous quilt projects, to fill in between the blocks. Surrounded by a 7¼" border.
Binding: Machine sewn Kona black cotton.
Quilting: Edge-to-edge "Kaleidoscope" from Wasatch Quilting. "Smoke" (So Fine 50 #409) thread on the front, "Black" (So Fine 50 #411) on the back.
Comments
Post a Comment